How to Install a Home Generator Transfer Switch

Materials Needed:
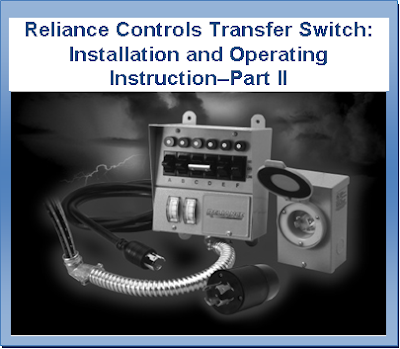
- Manual transfer switch
- Flanged inlet box
- 240-amp circuit breaker
- Junction box
- Wire nuts
- Flexible ¾-inch conduit
- Conduit connectors
Step 1: Turning off Main Power Line
Locate the main power breaker and switched it off. Set up the panel for the transfer switch closest to the house service panel. These two panels should be attached using a conduit.
Step 2: Attaching Wires
Secure a cable to serve the two panels. Attach the white and ground wires to the respective white and ground bars of the service and transfer switch panels.
Step 3: Circuit Breaker
Use a 30-amp circuit breaker. Set this up by the service panel. Attach the red and black wires from the cable of the circuit breaker. Interlock the bus tabs of the service panel to the circuit breaker. Connect the other end of the red and black wires to the “from power lines” attachments located by the transfer switch panel.
Step 4: Total Wattage for Appliances
Determine what power circuits should work with the generator by calculating the total wattage of appliances needing power. An allowance of about 20 percent should be reserved as start-up power.
Step 5: Circuit Breaker Wiring
Take out the black wires of the circuit breaker by the service panel. Lengthen wires to the circuit breaker that will be eventually switched by utilizing wire nuts to reach the transfer switch panel using a conduit. The ends of the wires should be attached to the transfer switch breaker if the wire nut extension is used.
Step 6: Junction Box to Transfer Switch Panel
Set up the preferred circuit wire extensions coming from junction boxes to the transfer switch breaker and the right bus bars if the junction box method is used.
Step 7: Flanged Inlet Box Installation
Inspect if the panel containing the transfer switch have the 30-amp flanged inlet connector. If this is not available, its installation is necessary. Set up the flanged inlet box at the exterior of the home near the generator by creating a hole through the wall. Use a cable to cover this distance to the transfer switch panel. Screw the box onto the exterior wall. Set up the wires to the designated colors appropriately.
Step 8: Attaching Cables
Attach the cable by the transfer switch panel to the ground and neutral wires that were also attached to the ground and neutral bus bars. Attach the black and red wires to the “from generator” feeder connectors.
Step 9: Final Connections
Attach a positive-twist lock plug to the generator side of the house. A negative-twist lock plug should be connected from the flanged connector to the transfer switch panel. Complete the connections of the colored wirings to the designated terminals.
Source: DoItYourself.com®
Source: DoItYourself.com®